Educator Appreciation Month
July 1, 9:00 a.m.

Spotlight on Sousa
July 4, 10:30 a.m.

MIM Talks: Musical Theater Around the World
July 7, 1:30 p.m.
July 1, 9:00 a.m.
July 4, 10:30 a.m.
July 7, 1:30 p.m.
Instruments & Exhibits
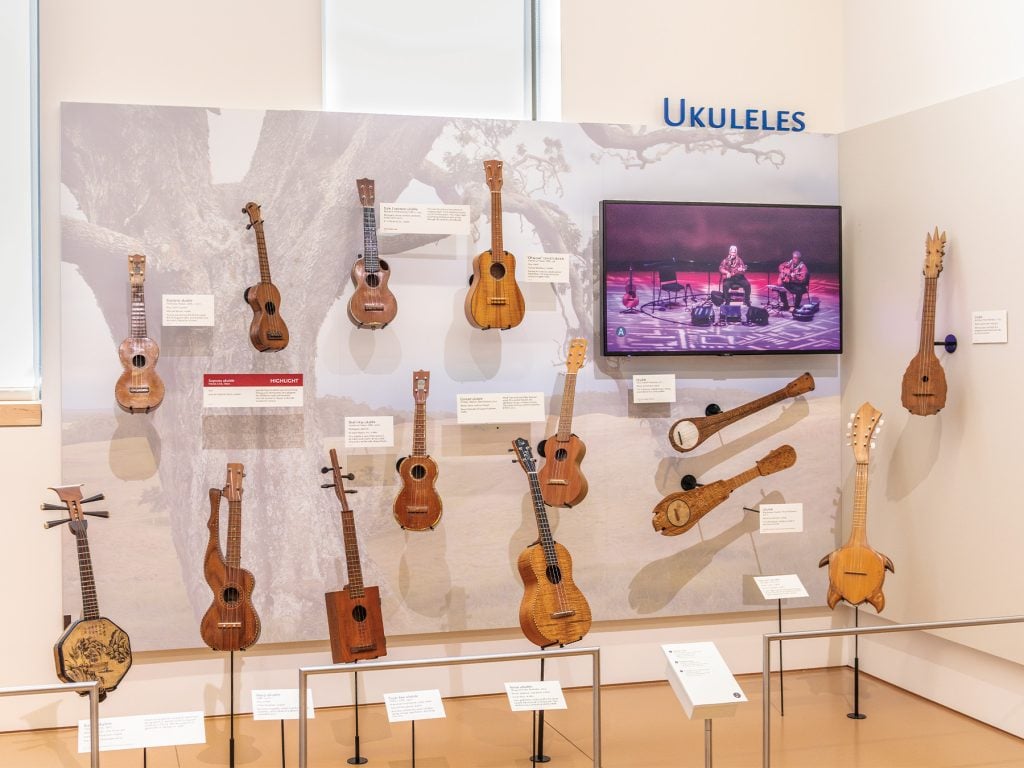
See remarkable acquisitions in the Ukuleles, Hawaii, and Polynesia exhibits The revised Ukuleles exhibit in…
Education
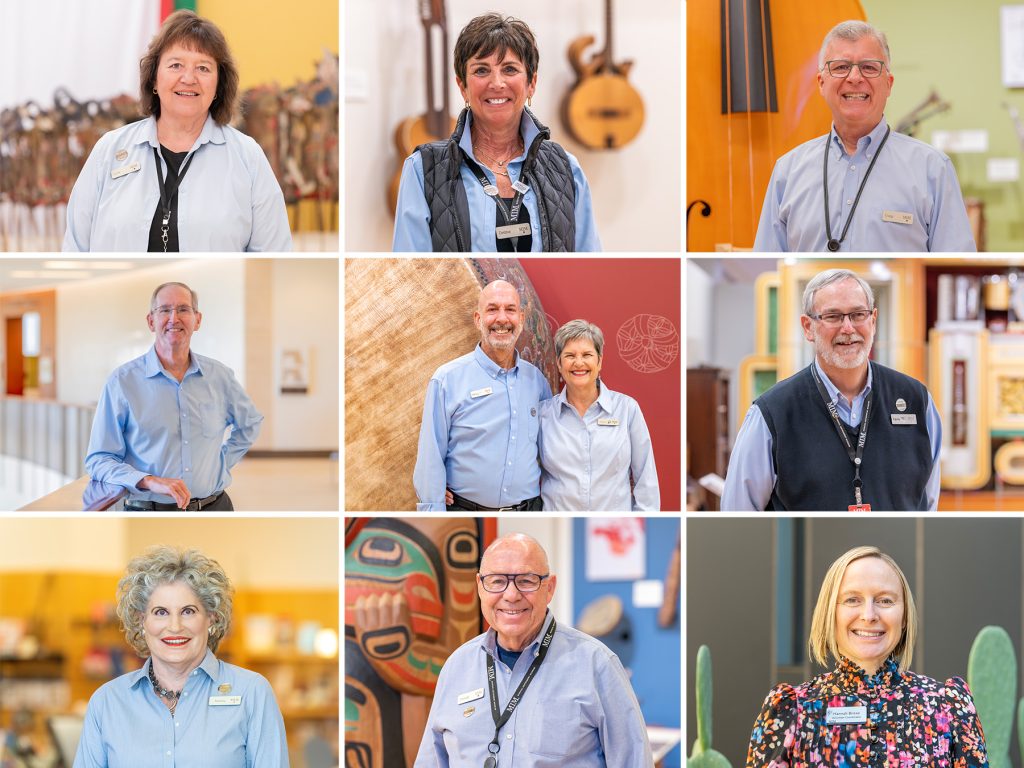
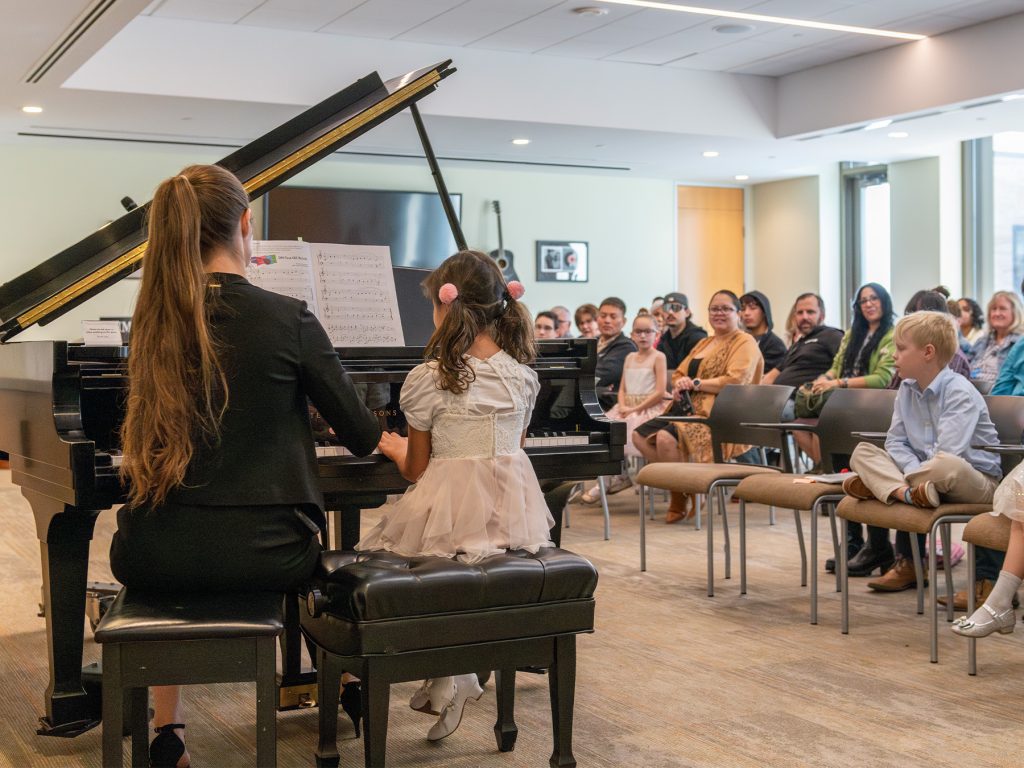
During private studio recitals at MIM, students perform and tour the galleries Mary Cota (left)…

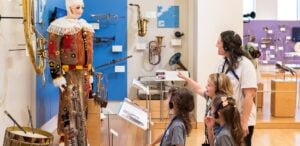
Events & Experiences
Explore a world of music—right here in Phoenix! The Musical Instrument Museum is a one-of-a-kind…